
9 Secrets of Precision and Efficiency Plasma Cutting
1.How to make templates for plasma cutting?
To make templates for plasma cutting, follow these steps:
1. Choose your design: First, choose the design you want to replicate or create your custom pattern. You can use various sources for inspiration such as online images, free CAD files, or design software like AutoCAD, Inkscape, or CorelDRAW.
2. Convert design to a vector: If you are using an image or a hand-drawn design, you need to convert it to a vector file format such as DXF or SVG. You can use vector conversion software like Adobe Illustrator or Inkscape for this. Vector files are easy to edit and scale, making them perfect for plasma cutting templates.
3. Optimize design for cutting: Check your design for any potential problems, such as small details that may be difficult to cut, overlapping lines, or disconnected segments. Simplify the design by removing unnecessary elements or enlarging intricate sections to ensure efficient and accurate plasma cutting.
4. Prepare your material: Choose the material that you will use for your template. Common choices include sturdy paper, cardstock, plastic sheets, or thin metal sheets. Make sure the material is flat and free of any imperfections that may affect the cutting process.
5. Transfer the design to the template material: Print or trace your design onto the template material. If you’re using a digital file, you can print it directly onto the material using a printer. For hand-drawn designs or designs on paper, use a lightbox or tracing paper to transfer the design onto the template material.
6. Cut out the design: Use a craft knife or a pair of scissors to carefully cut out the design from the template material. If you’re using a thin metal sheet, you may need to use tin snips or metal shears for cutting.
7. Smooth the edges: Use sandpaper or a deburring tool to smooth any rough edges on your template.
8. Test the template: Position the template on the metal workpiece and ensure that it fits accurately. Make any needed adjustments to the design or template material.
9. Secure the template: Attach the template to your metal workpiece using clamps or tape, making sure it is aligned properly and secure.
Your template is now ready for plasma cutting. The plasma cutter will use the template as a guide, ensuring precision and consistency in your cuts.
2.How to design images for plasma cutting?
Designing images for plasma cutting requires various considerations, including the complexity of the design, the cut quality, and the capabilities of your plasma cutter. Here are the steps to design images for plasma cutting:
1. Choose or create a design: Firstly, select an image or design that you want to use for plasma cutting. You can either find an existing design online, create your own using design software, or draw one by hand.
2. Consider design limitations: When choosing a design for plasma cutting, consider the limitations and capabilities of your plasma cutter. Avoid complex and intricate designs that may be too challenging to cut or result in distortions and inaccuracies.
3. Use design software: To design images for plasma cutting, use vector-based design software such as AutoCAD, Inkscape, or CorelDRAW. These programs facilitate easy editing and resizing of your design, which is important for plasma cutting.
4. Convert or create a vector image: If you have chosen a raster image, convert it to a vector format (e.g., DXF, SVG) using your design software. If you are creating an image from scratch, design it in a vector format to ensure clean cuts and precise scaling.
5. Optimize the design for cutting: Check your design for any potential issues that might affect the cutting process, such as small details, overlapping lines, or disconnected segments. Simplify the design by removing unnecessary elements or enlarging intricate sections to improve your cutting experience.
6. Add lead-ins and lead-outs: Lead-ins and lead-outs are small extensions added to the start and end points of a cut, allowing the torch to pierce the metal before beginning and after ending the cut. This helps prevent distortion or damage to the main design.
7. Export your design: Once you are satisfied with the design, export it in a file format compatible with your plasma cutter or cutting support software, usually as a DXF or SVG file.
8. Test your design: Prior to cutting your final workpiece, test your design on a scrap piece of metal or other suitable material. This will allow you to make any necessary adjustments to your design or cutting parameters for the best results.
Once you have successfully designed and tested your image, you can proceed to plasma cut your workpiece with confidence that your design is optimized for the process.
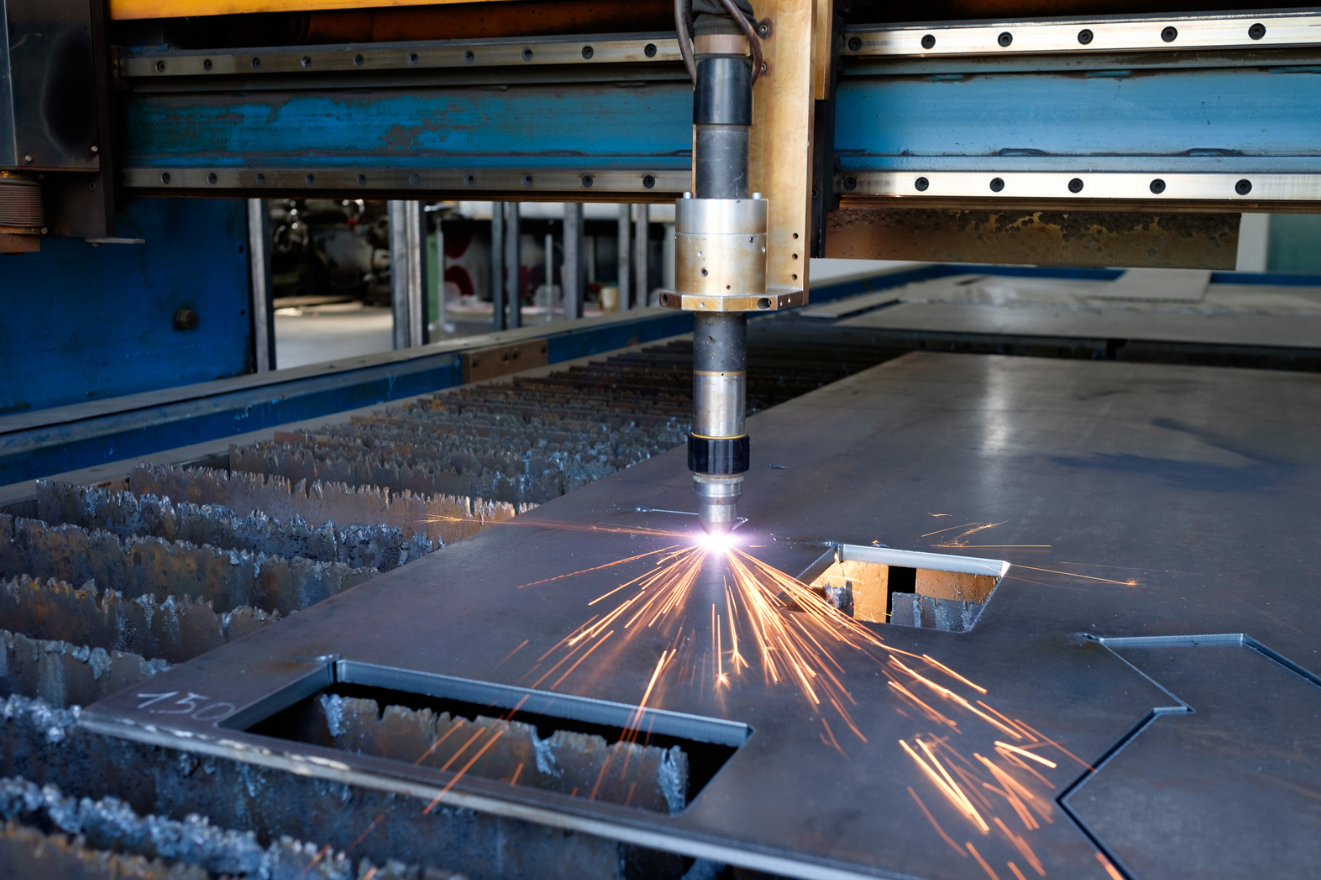
3.How close should you be when plasma cutting?
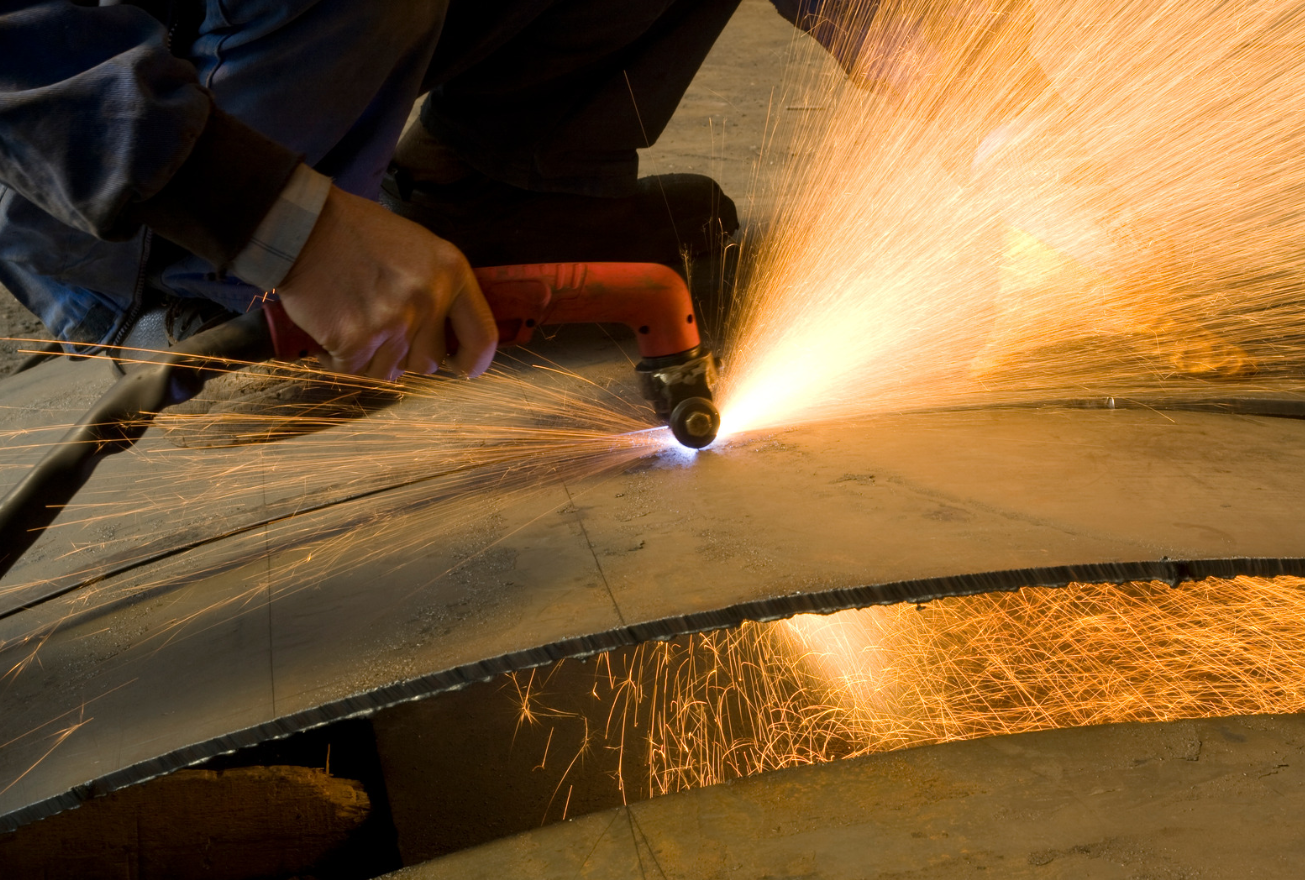
When plasma cutting, the distance between the cutting torch and the workpiece is crucial for achieving clean, precise cuts. This distance is known as the standoff, and it varies depending on the plasma cutter and the material being cut. Typically, the optimal standoff distance is between 1/16 inch (1.6mm) and 1/8 inch (3.2mm) for handheld plasma cutting.
To maintain the appropriate standoff distance, follow these guidelines:
1. Consult your plasma cutter’s manual: Check the manufacturer’s recommendations for the ideal standoff distance for your specific torch, as this may vary between models.
2. Use a torch guide or drag shield: A torch guide or drag shield is a useful accessory that helps maintain the correct distance between the torch and the workpiece. Some plasma cutters come with built-in drag shields or guides that allow the torch to glide smoothly across the surface of the material.
3. Keep the torch perpendicular to the workpiece: Hold the torch at a 90-degree angle to the surface of the material to ensure accurate, clean cuts. Maintaining a consistent angle while cutting is crucial for achieving the best possible results.
4. Observe and adjust as needed: As you cut, pay attention to the arc and the quality of the cut. If the arc is too long, shorten the standoff distance. If the arc is sputtering or the cut is too wide, slightly increase the standoff distance. Adjusting the distance might be necessary, especially when cutting irregular shapes or uneven surfaces.
5. Practice and develop muscle memory: With practice, you’ll develop muscle memory and become more comfortable maintaining a consistent standoff distance as you move the torch. As your skills improve, you’ll rely less on guides or shields and more on your steady hand and expertise.
Remember, always use the recommended safety equipment and procedures while plasma cutting to protect yourself and achieve accurate and clean cuts.
4.How to control metal warp when hand cutting with a plasma torch?
When hand cutting with a plasma torch, metal warping can be a concern. Warping can occur due to the heat generated during the cutting process, which can cause the metal to expand and contract unevenly. To minimize metal warping while plasma cutting, follow these tips:
1. Choose the right cutting settings: Using the correct cutting speed, amperage, and air pressure will reduce the amount of heat generated and decrease the risk of warping. Consult your plasma cutter’s manual for the recommended settings based on the material thickness.
2. Preheat the metal: If you’re working with thick metals, preheat the metal to a uniform temperature before cutting. This can help to reduce the stress caused by uneven thermal expansion during the plasma cutting process.
3. Use a cutting pattern with fewer starts and stops: Each time the plasma torch starts, it creates a heat-affected zone (HAZ). By cutting your design in a continuous motion with fewer stops, you’ll minimize the HAZ and reduce the chances of warping.
4. Cut in smaller segments: Instead of cutting the entire design in a single run, try dividing it into smaller segments. This allows the heat to dissipate in between cuts, giving the metal time to cool down and minimize warping.
5. Allow the metal to cool gradually: After cutting, let the metal cool down on its own or use compressed air to cool the material at a controlled rate. Avoid using water or other cooling methods that can cause the metal to contract too quickly and lead to warping.
6. Use heat sinks or clamps: Secure the workpiece using clamps or heat sinks. This helps distribute heat evenly and restrains the metal, minimizing warping during the cutting process.
7. Cut in a sequence: When cutting multiple parts from a single workpiece, cut in a sequence that evenly distributes heat across the material. This avoids focusing heat in a specific area and can help prevent warping.
8. Practice good torch control: Maintaining a consistent standoff distance, cutting speed, and torch angle will ensure an even transfer of heat, reducing the likelihood of warping.
5.How can slag be reduced when plasma cutting?
Slag, the molten metal residue that can adhere to the underside of a cut, can affect the cut quality in plasma cutting. To reduce slag formation while plasma cutting, follow these tips:
1. Optimize cutting settings: Ensure that the cutting speed, amperage, and air pressure are suitable for the thickness and type of the material being cut. Consult your plasma cutter’s manual or seek manufacturer guidelines to determine the appropriate settings.
2. Maintain proper standoff distance: Keep the torch’s distance from the workpiece consistent throughout the cutting process. A standoff distance between 1/16 inch (1.6mm) and 1/8 inch (3.2mm) is generally suitable for handheld plasma cutting. Using a torch guide or drag shield can help maintain the correct distance.
3. Keep the torch perpendicular: Hold the plasma torch at a 90-degree angle to the workpiece surface when cutting. Consistent torch angle ensures a more accurate and cleaner cut with less slag formation.
4. Use high-quality consumables: The condition and type of consumables (electrode, nozzle, and shield) in your plasma torch can affect cut quality and slag formation. Always replace worn consumables and consider using better quality ones if slag formation persists.
5. Ensure clean, dry air supply: Moisture or contaminants in your compressed air supply can lead to inconsistent arc performance and increased slag formation. Use a good quality air filter and air dryer to ensure clean, dry air for your plasma cutter.
6. Clean the workpiece: Remove any rust, paint, or coatings from the workpiece surface before cutting. These substances can create extra slag during the plasma cutting process.
7. Cut with a steady pace: Cut at a consistent speed to ensure the metal has enough time to fully melt and be blown away from the cut. Moving too slowly can cause excess slag buildup, while moving too fast can result in incomplete cuts.
8. Minimize piercing: If possible, start the cut on the edge of the workpiece instead of piercing the middle of the material. Piercing can create additional slag at the start of the cut.
6.What speed and amps should be used for plasma cutting steel?
The ideal cutting speed and amperage for plasma cutting steel depend on the thickness of the material and the specific plasma cutter you are using. Each plasma cutter has its parameters and capabilities, with recommended settings provided by the manufacturer. Generally, thicker materials require a slower cutting speed and higher amperage, while thinner materials need a faster cutting speed and lower amperage.
Here is a guideline for cutting steel using a plasma cutter:
1. Mild Steel:
– Thickness of 1/8 inch (3 mm): Cutting speed of 60-70 inches per minute (IPM) and an amperage of 25-30A.
– Thickness of 1/4 inch (6 mm): Cutting speed of 20-30 IPM and an amperage of 40-50A.
– Thickness of 1/2 inch (12 mm): Cutting speed of 8-12 IPM and an amperage of 65-85A.
2. Stainless Steel:
– Thickness of 1/8 inch (3 mm): Cutting speed of 50-60 IPM and an amperage of 25-35A.
– Thickness of 1/4 inch (6 mm): Cutting speed of 15-25 IPM and an amperage of 40-60A.
– Thickness of 1/2 inch (12 mm): Cutting speed of 7-10 IPM and an amperage of 80-100A.
Please note that these are general guidelines, and it’s essential to consult your plasma cutter’s user manual or contact the manufacturer for specific speed and amperage recommendations for your model. Always follow the safety guidelines and use appropriate protective gear when operating a plasma cutter.
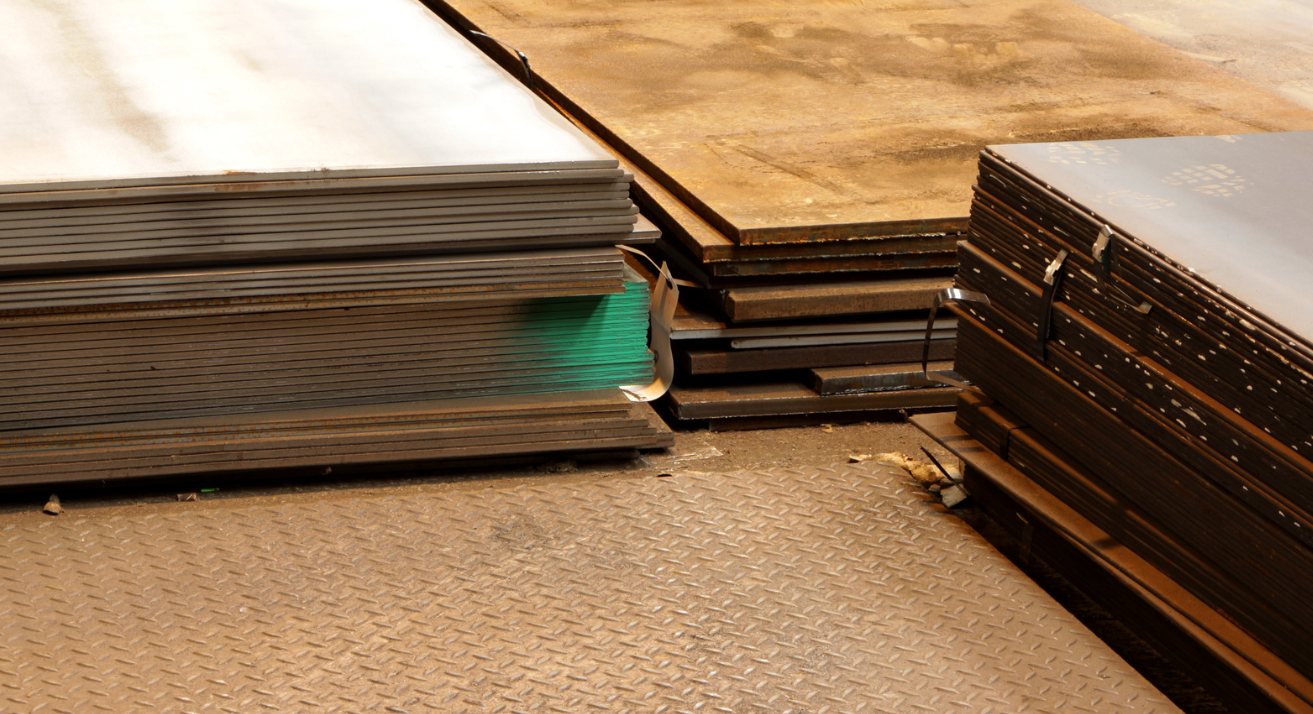
7.How to cut rusty metal using a plasma cutter?
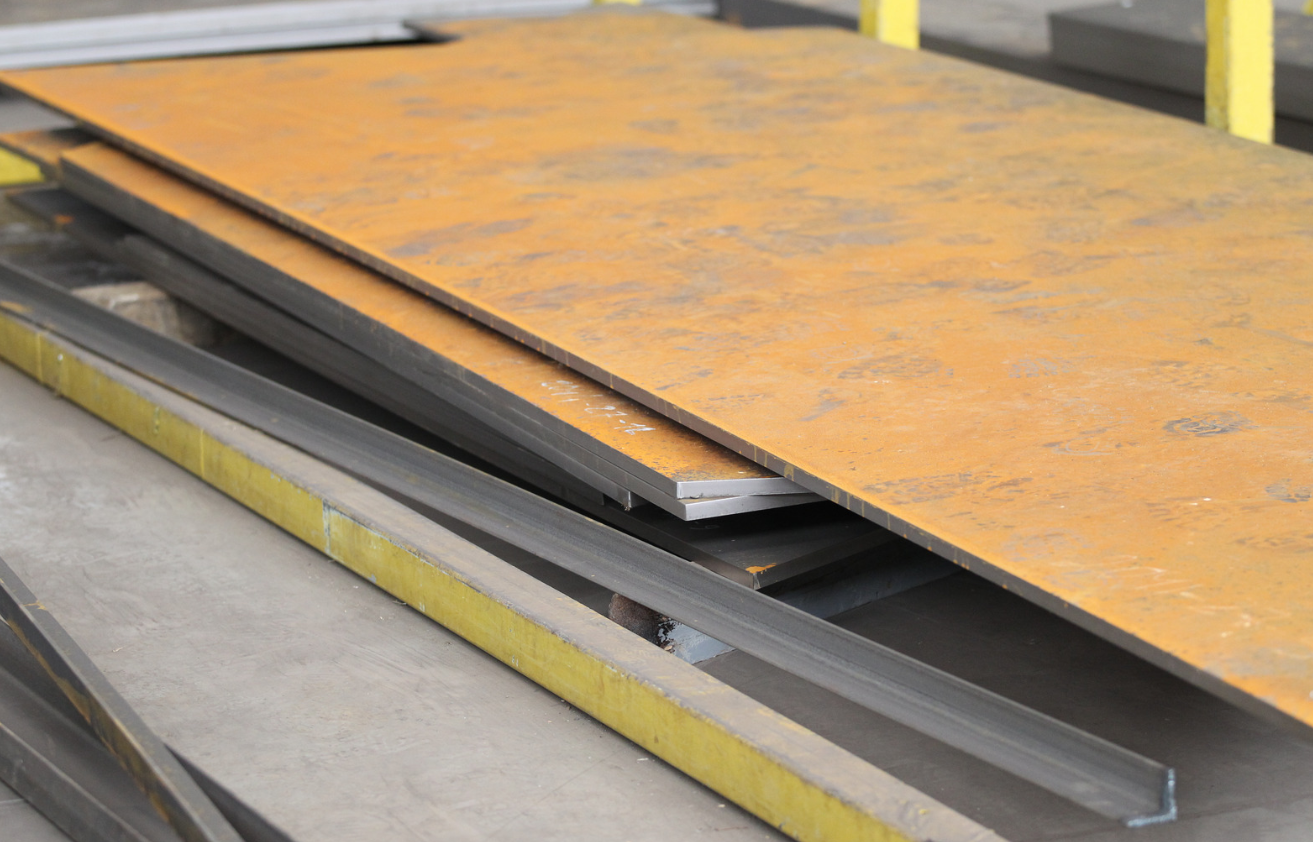
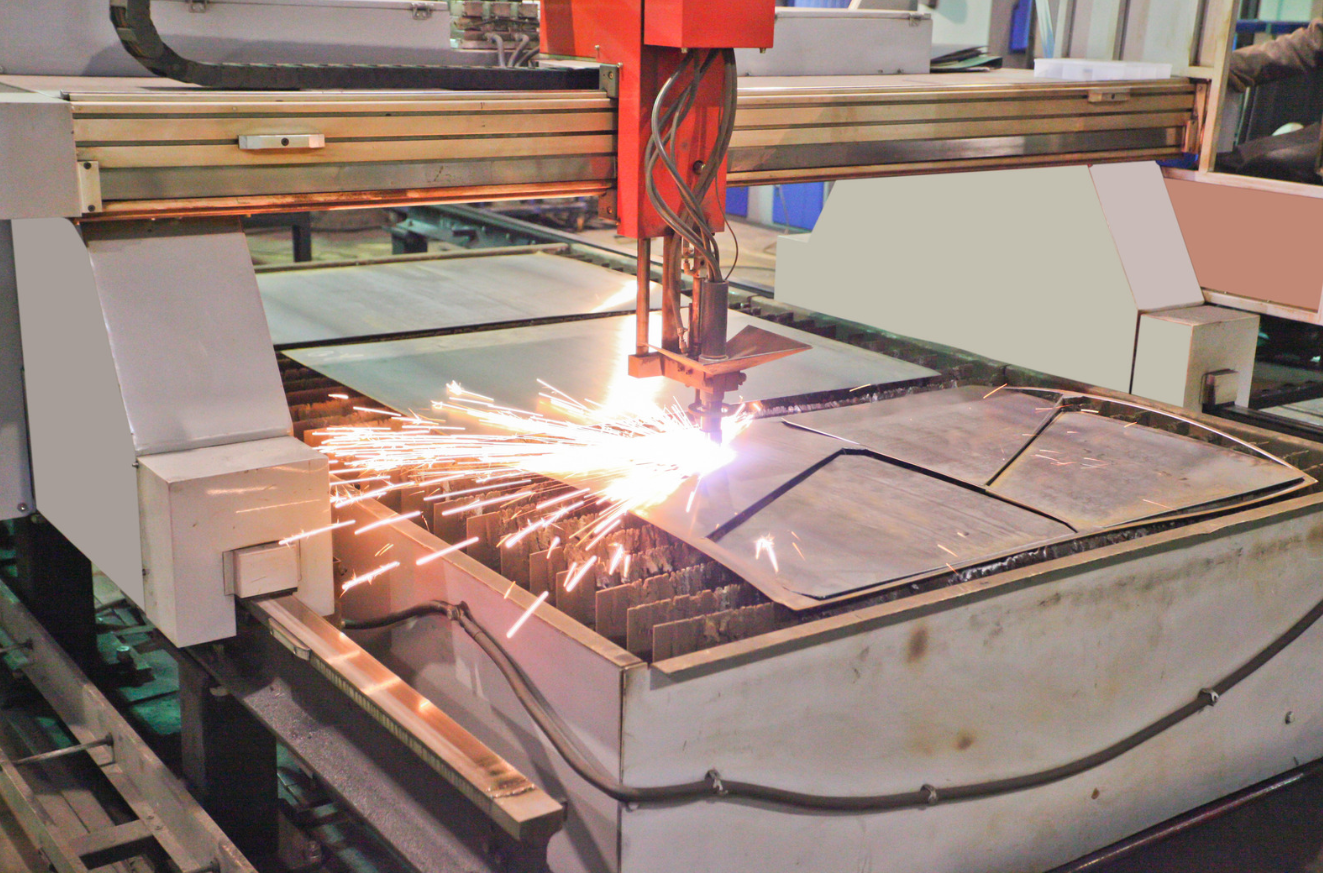
Cutting rusty metal with a plasma cutter can be challenging due to the uneven cutting surface and potential loss of electrical conductivity in rusted areas. However, with the right preparatory steps and cutting techniques using an automated plasma system, it is possible to achieve precise cutting results. Follow these guidelines for cutting rusty metal using a CNC plasma table:
1. Remove loose rust: Use a wire brush or an angle grinder with a wire wheel attachment to clean away loose rust from the carbon steel surface. Focus on the areas where the plasma arc cutting will occur.
2. Clean the surface: After removing loose rust, use a damp cloth to clean the cutting surface, ensuring better electrical conductivity and a smoother cut.
3. Adjust cutting settings: Increase the amperage and air pressure settings on your plasma cutting system slightly to compensate for reduced electrical conductivity caused by rust. This helps maintain a steady arc and ensures a clean cut, taking full advantage of your plasma cutter’s capabilities.
4. Utilize a drag shield or standoff guide: When using a plasma cutting system, a drag shield or standoff guide can maintain a consistent distance between the torch tip and the metal surface, compensating for any irregularities caused by rust. This results in a more uniform and accurate cut on the CNC plasma table.
5. Create a starting edge: If possible, avoid piercing through rusty metal by starting your cut at the edge of the workpiece. Piercing through rust can result in an unstable arc with a narrow plasma stream, leading to uneven cuts.
6. Cut with a steady pace: As you perform plasma arc cutting through the rusty metal, maintain a steady pace while keeping the torch perpendicular to the workpiece. If you encounter areas with particularly heavy rust, slow down your cutting speed to ensure a thorough cut, maximizing cutting capacity.
7. Inspect and clean the cut edges: After cutting the rusty metal using your plasma cutting systems, inspect the cut edges for any remaining slag or rough spots. Use a grinding wheel or file to clean and smooth the edges as needed, ensuring quality and consumable life.
Remember to always follow safety guidelines and wear appropriate protective equipment while using a plasma cutter, especially when cutting rusty metal, as it can create additional hazards such as flying debris. Plasma gas, like that used in laser cutting, can contribute to a successful plasma cutting process when combined with the right technique and equipment.
8.What can be used to mark metal for plasma cutting?
To mark metal for plasma cutting, choose a marking tool that creates visible, accurate lines that can withstand high temperatures and are easy to clean off after cutting. Here are some common tools and methods for marking metal when preparing for plasma cutting:
1. Soapstone: Soapstone is a popular choice for marking metal due to its heat-resistant and visible markings. It is a soft, chalk-like material that leaves clear lines that are easily removed after cutting. Soapstone is suitable for various metals, including steel, aluminum, and stainless steel.
2. Silver pencils: These pencils contain a silver-colored lead that marks metal surfaces clearly and resists heat. Silver pencils are suitable for dark metals and can be easily cleaned off after cutting.
3. Scribing tool or metal scriber: A metal scriber is a sharp, pointed tool used to etch lines onto the metal’s surface. While precise, these lines may not be as clearly visible as those made with soapstone or silver pencils.
4. Layout dye: Apply a thin layer of layout dye to the metal surface and then use a scribing tool to mark your design. The dye creates a sharp contrast between the marked lines and the surrounding metal, making it easy to see the cut lines.
5. Vinyl or masking tape: For simple designs or straight lines, use vinyl or masking tape to create a marked guide for cutting. However, this method may not be suitable for intricate designs or high heat applications, as the tape may burn or lose adhesion.
6. Stencils or templates: Use pre-made stencils or create custom templates from materials like cardstock, plastic sheets, or thin metal to guide the plasma cutter. Position the stencil or template on the metal and use a clamp or tape to secure it in place before cutting.
7. Marking pens: Specialized heat-resistant marking pens designed for metal surfaces are also available. These pens can provide visible markings and withstand high temperatures during the plasma cutting process.
Always use appropriate safety measures and wear the proper safety gear while marking and cutting metal with a plasma cutter. Clean off any residual markings after completing the cut to maintain the quality and appearance of your workpiece.
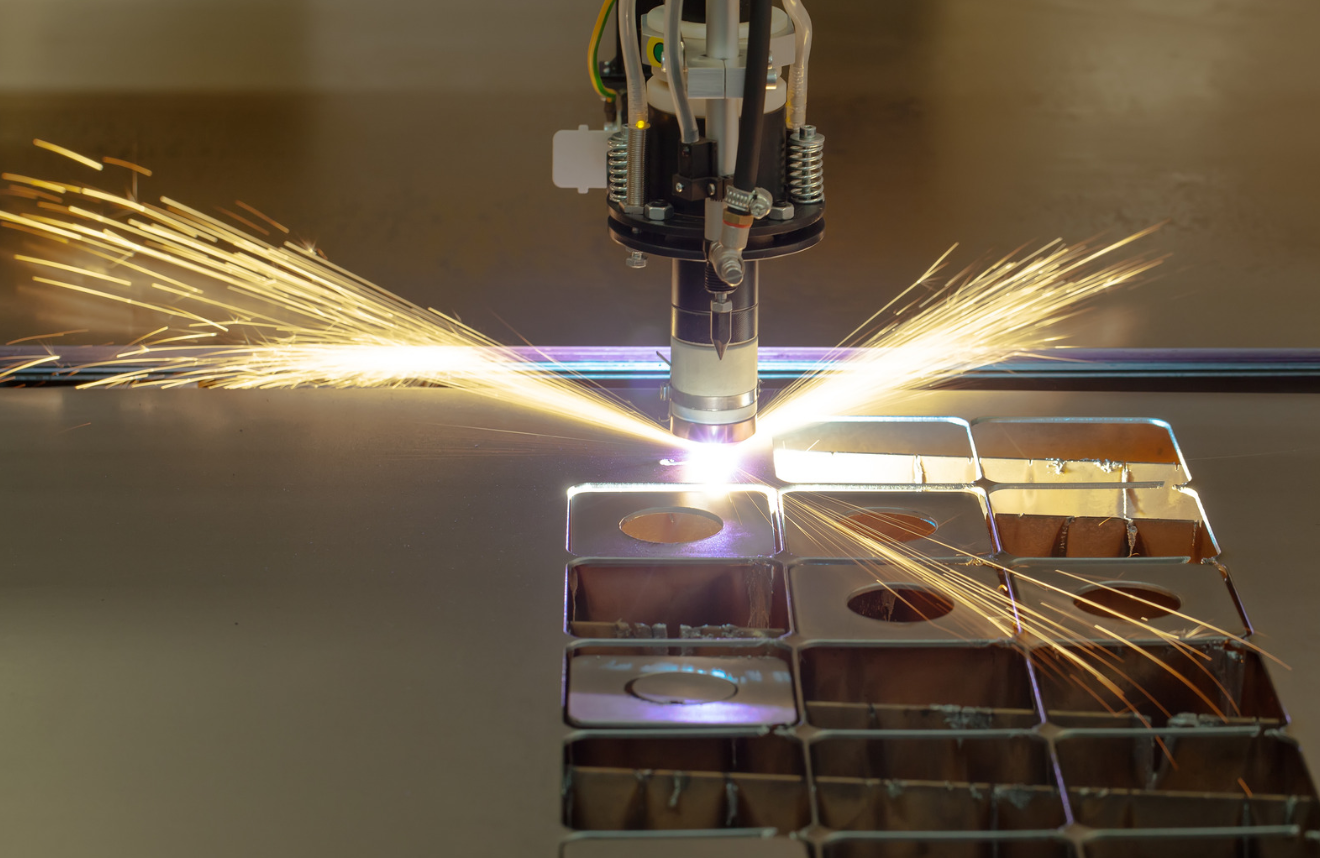
9.How to scribe using Burny plasma cutting software?

Burny plasma cutting software, often called Burny CNC, is a popular control system for plasma cutting machines. Scribing is the process of etching a marking or design onto a metal surface using the plasma cutting machine without cutting entirely through the material. Here’s how to scribe using Burny plasma cutting software:
1. Design your scribe pattern: Using a vector design software like AutoCAD, create a design or layout that you’d like to scribe onto your workpiece. Make sure the design is optimized for scribing.
2. Export the design: Export the design as a DXF file, which is compatible with Burny plasma cutting software.
3. Load the design into Burny software: Open the Burny plasma cutting software and import the DXF file containing the scribe pattern.
4. Configure the scribing settings: Inside the software, adjust the plasma torch’s height, speed, travel distance, and amperage to be suitable for scribing. This usually means keeping the torch slightly higher from the workpiece and reducing the amperage so that the arc doesn’t cut entirely through the metal.
5. Set up the scribe tool: Some plasma cutting machines include a separate scribing tool, commonly an air scribe or a stylus, which can be mounted on the torch holder. Ensure the machine is properly set up for scribing by following the manufacturer’s instructions.
6. Run a test scribe: Before scribing your final workpiece, it’s a good idea to test your settings and design on a scrap piece of material that is the same type and thickness as your final workpiece.
7. Review and adjust as needed: Inspect the test scribe for quality and precision. Modify your design or settings as needed based on the results of the test scribe.
8. Scribe the final workpiece: Once you are satisfied with the settings and design, load your final workpiece onto the plasma cutting table and run the scribe program.
It’s essential to always follow the manufacturer’s guidelines for operating the plasma cutting machine and use appropriate safety gear. After scribing, you may need to clean and polish the surface to enhance the final appearance of the workpiece.